ACMS Custom Switch Frame Review
Are you a tired of putting your finished projects in the same old hoop frames? ..want a more polished way to display your art? …well, look no further, because custom Switch frames have arrived!
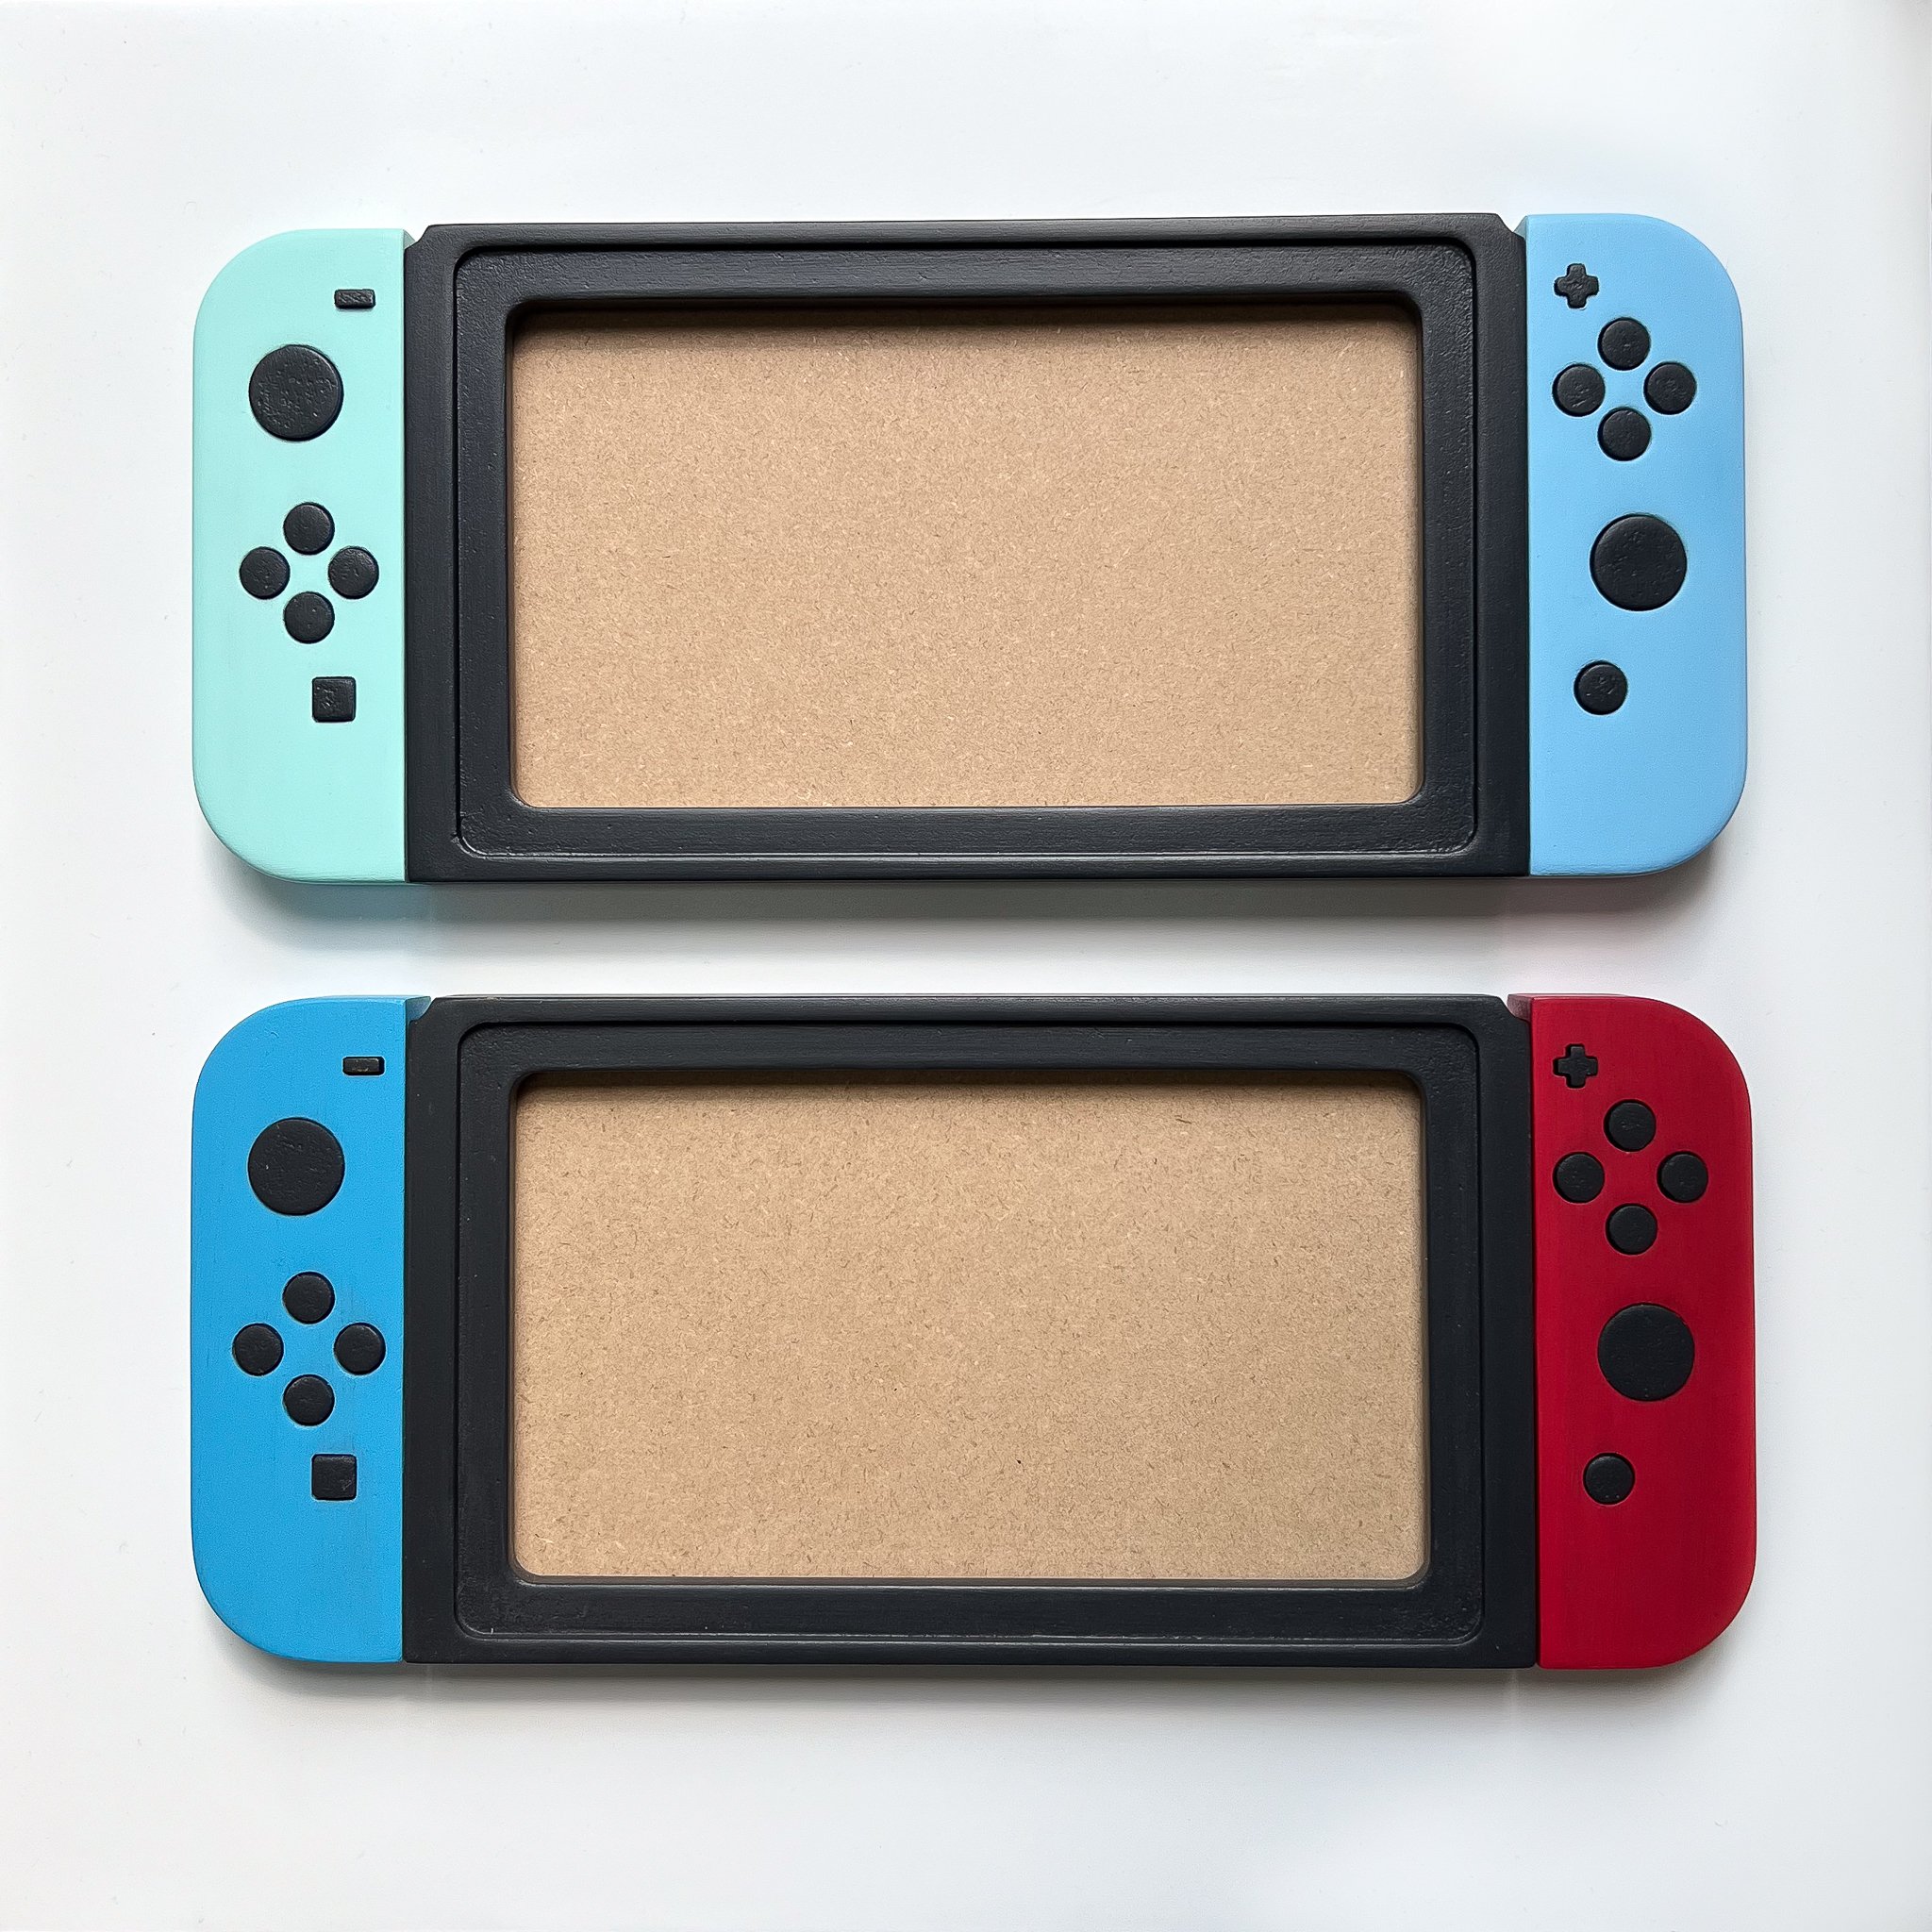
With a large 5x9 inch frame opening and customizable endcaps, you just might fool your friends into thinking these are the real deal.
Take a deep dive with me into what makes these Switch frames a must have for your next nerdy project, and see why ACMS creates the best needlework frames on the market!
☆ ☆ ☆
Often I see embroidery artists asking how others frame their finished work, and these days it honestly seems like there are endless options to choose from! Since the start of my own embroidery journey, I’ve explored a variety of different ways to frame projects, including putting finished pieces in standard hoops, faux wooden hoops, and even staining my own hoops. But as my skills have grown, so have my ambitions, and I’ve become a firm believer that the frame you choose can have a huge impact on your design.. If you had the opportunity to match the frame to the theme of your project, why wouldn’t you?
So, I began dabbling in unconventional framing methods to explore more options, such as wooden needlework floater frames and 3D glass shadow boxes (check out my Little Bear shadow box tutorial, if you’re curious about that one). But for this project I had a slightly different idea in mind.. something I’d never seen done before.. something more customized to my Animal Crossing themed design..
..and I knew immediately that ACMS was the right place to help bring my vision to life.
Exploring the Frame
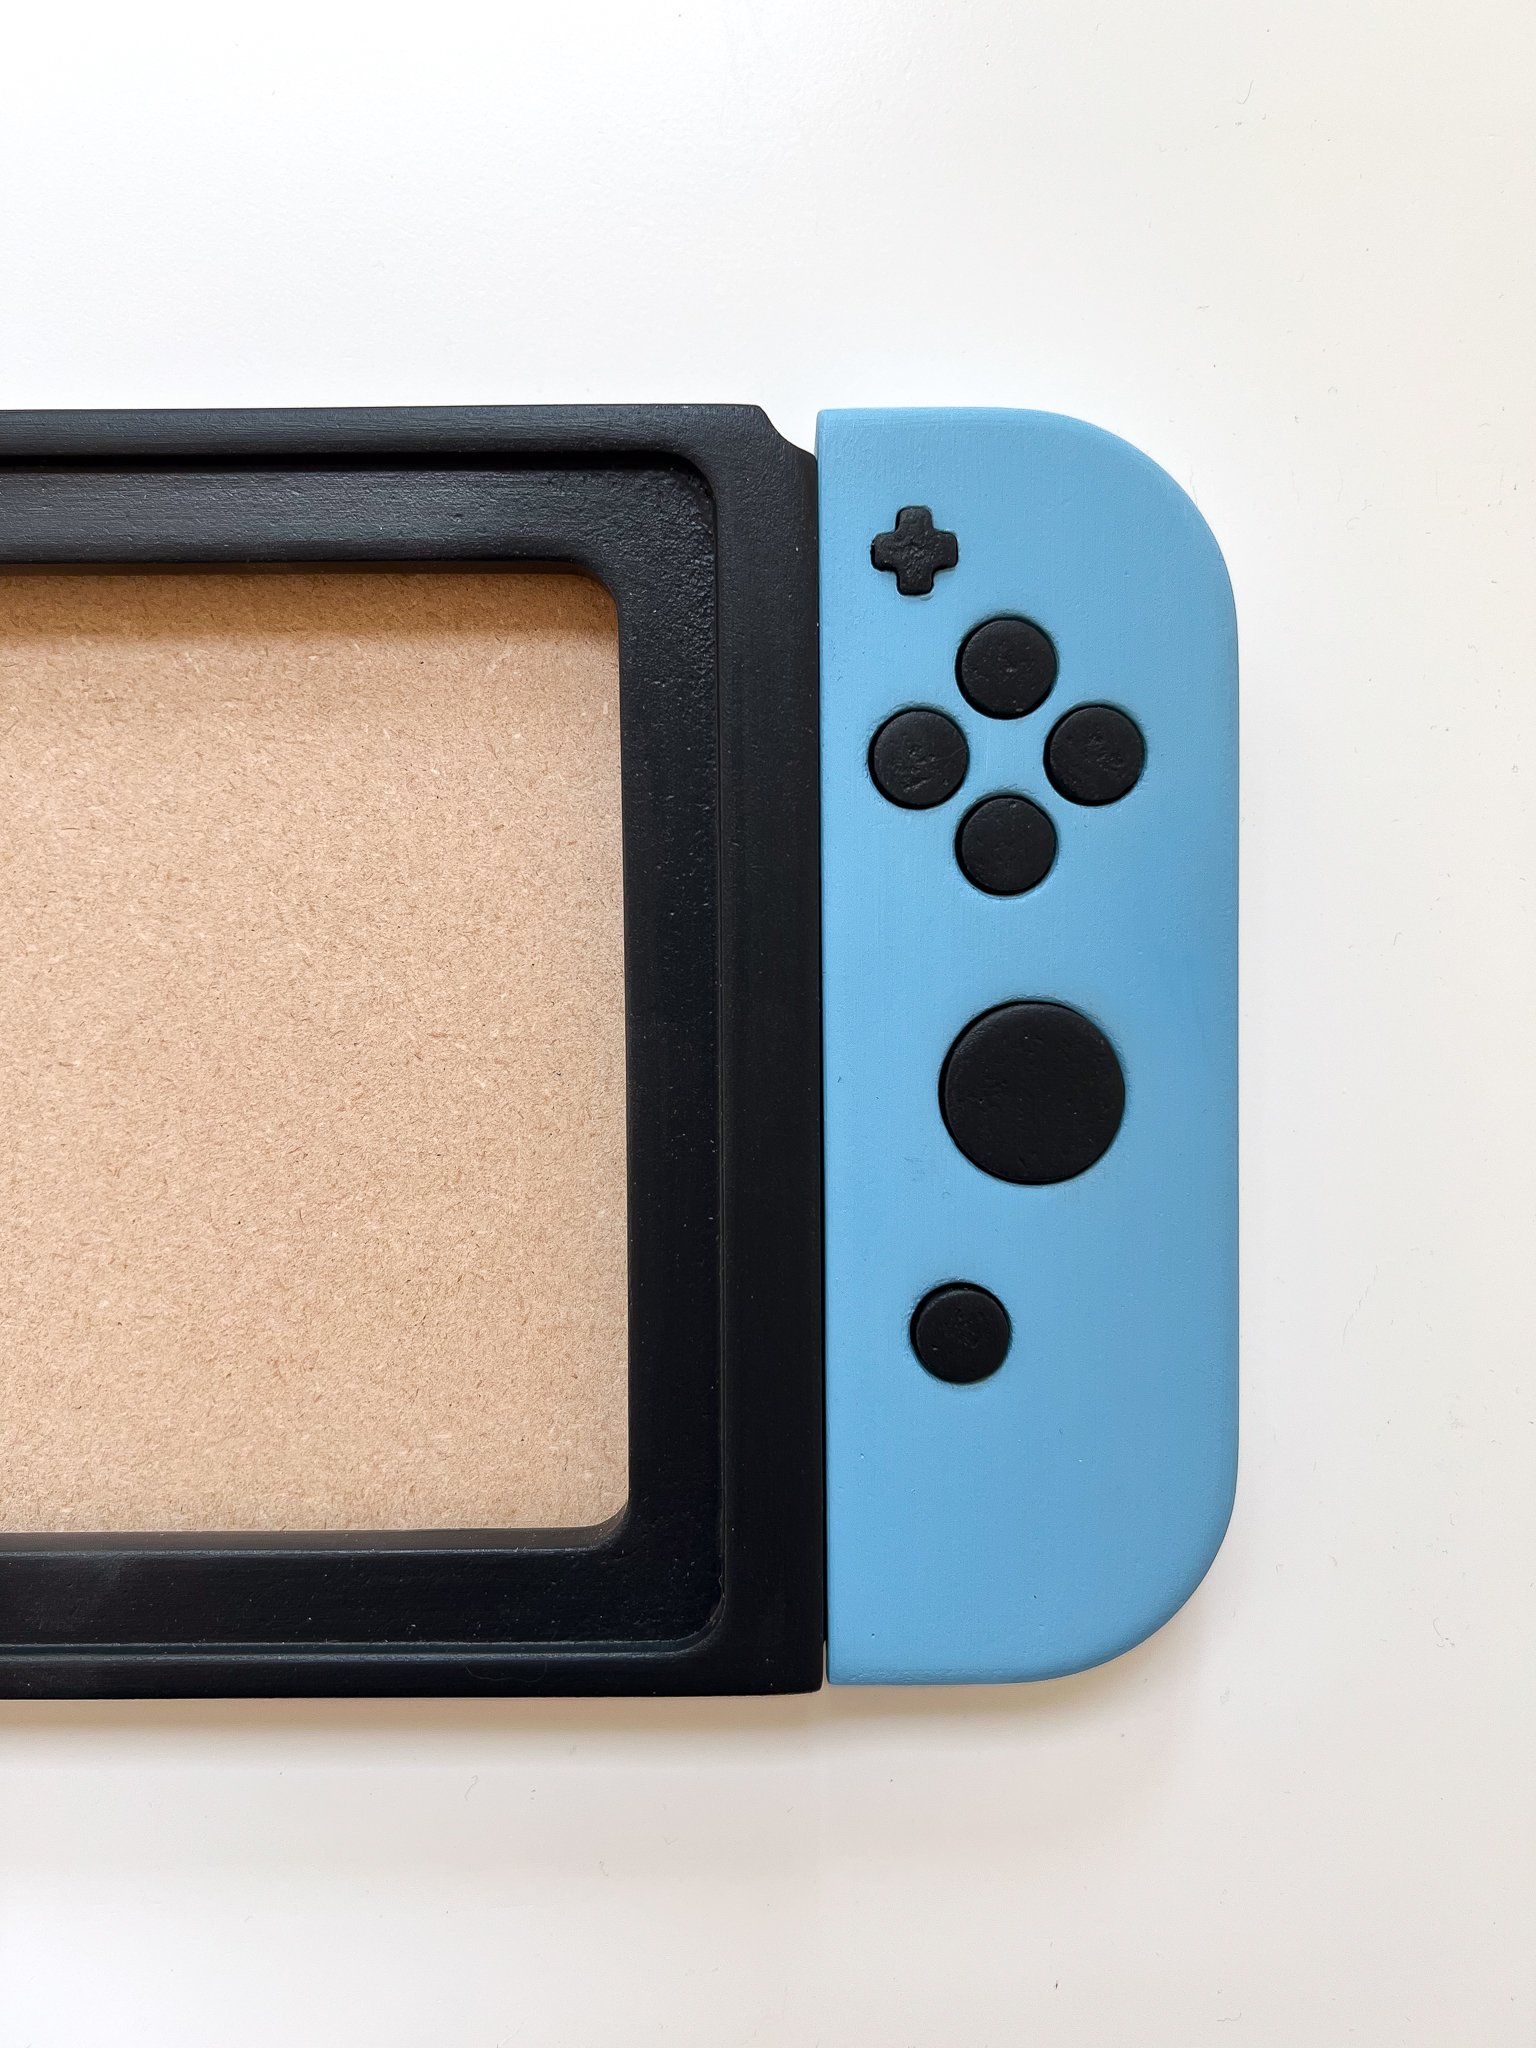
I’d like to start by stating that I think this is perhaps one of the most beautiful, well thought out frames I’ve ever come across for embroidery and needlework of all kinds. The attention to detail is simply unmatched, and it shows! The buttons on the endcaps are all slightly raised, making it feel like an actual Switch controller when it’s in your hands (which is pretty amazing, if you ask me), and everything from the color of paint to the tiny notches and raised elements of the frame opening are so perfectly executed, that it truly adds an exceptional level of depth to your finished work.
I’ve shown the frame to a few people now, and every single time someone gets their hands on it, the first thing they do is hold the frame like a real Switch and ‘press’ the buttons.. which always results in a comment on how realistic it feels!

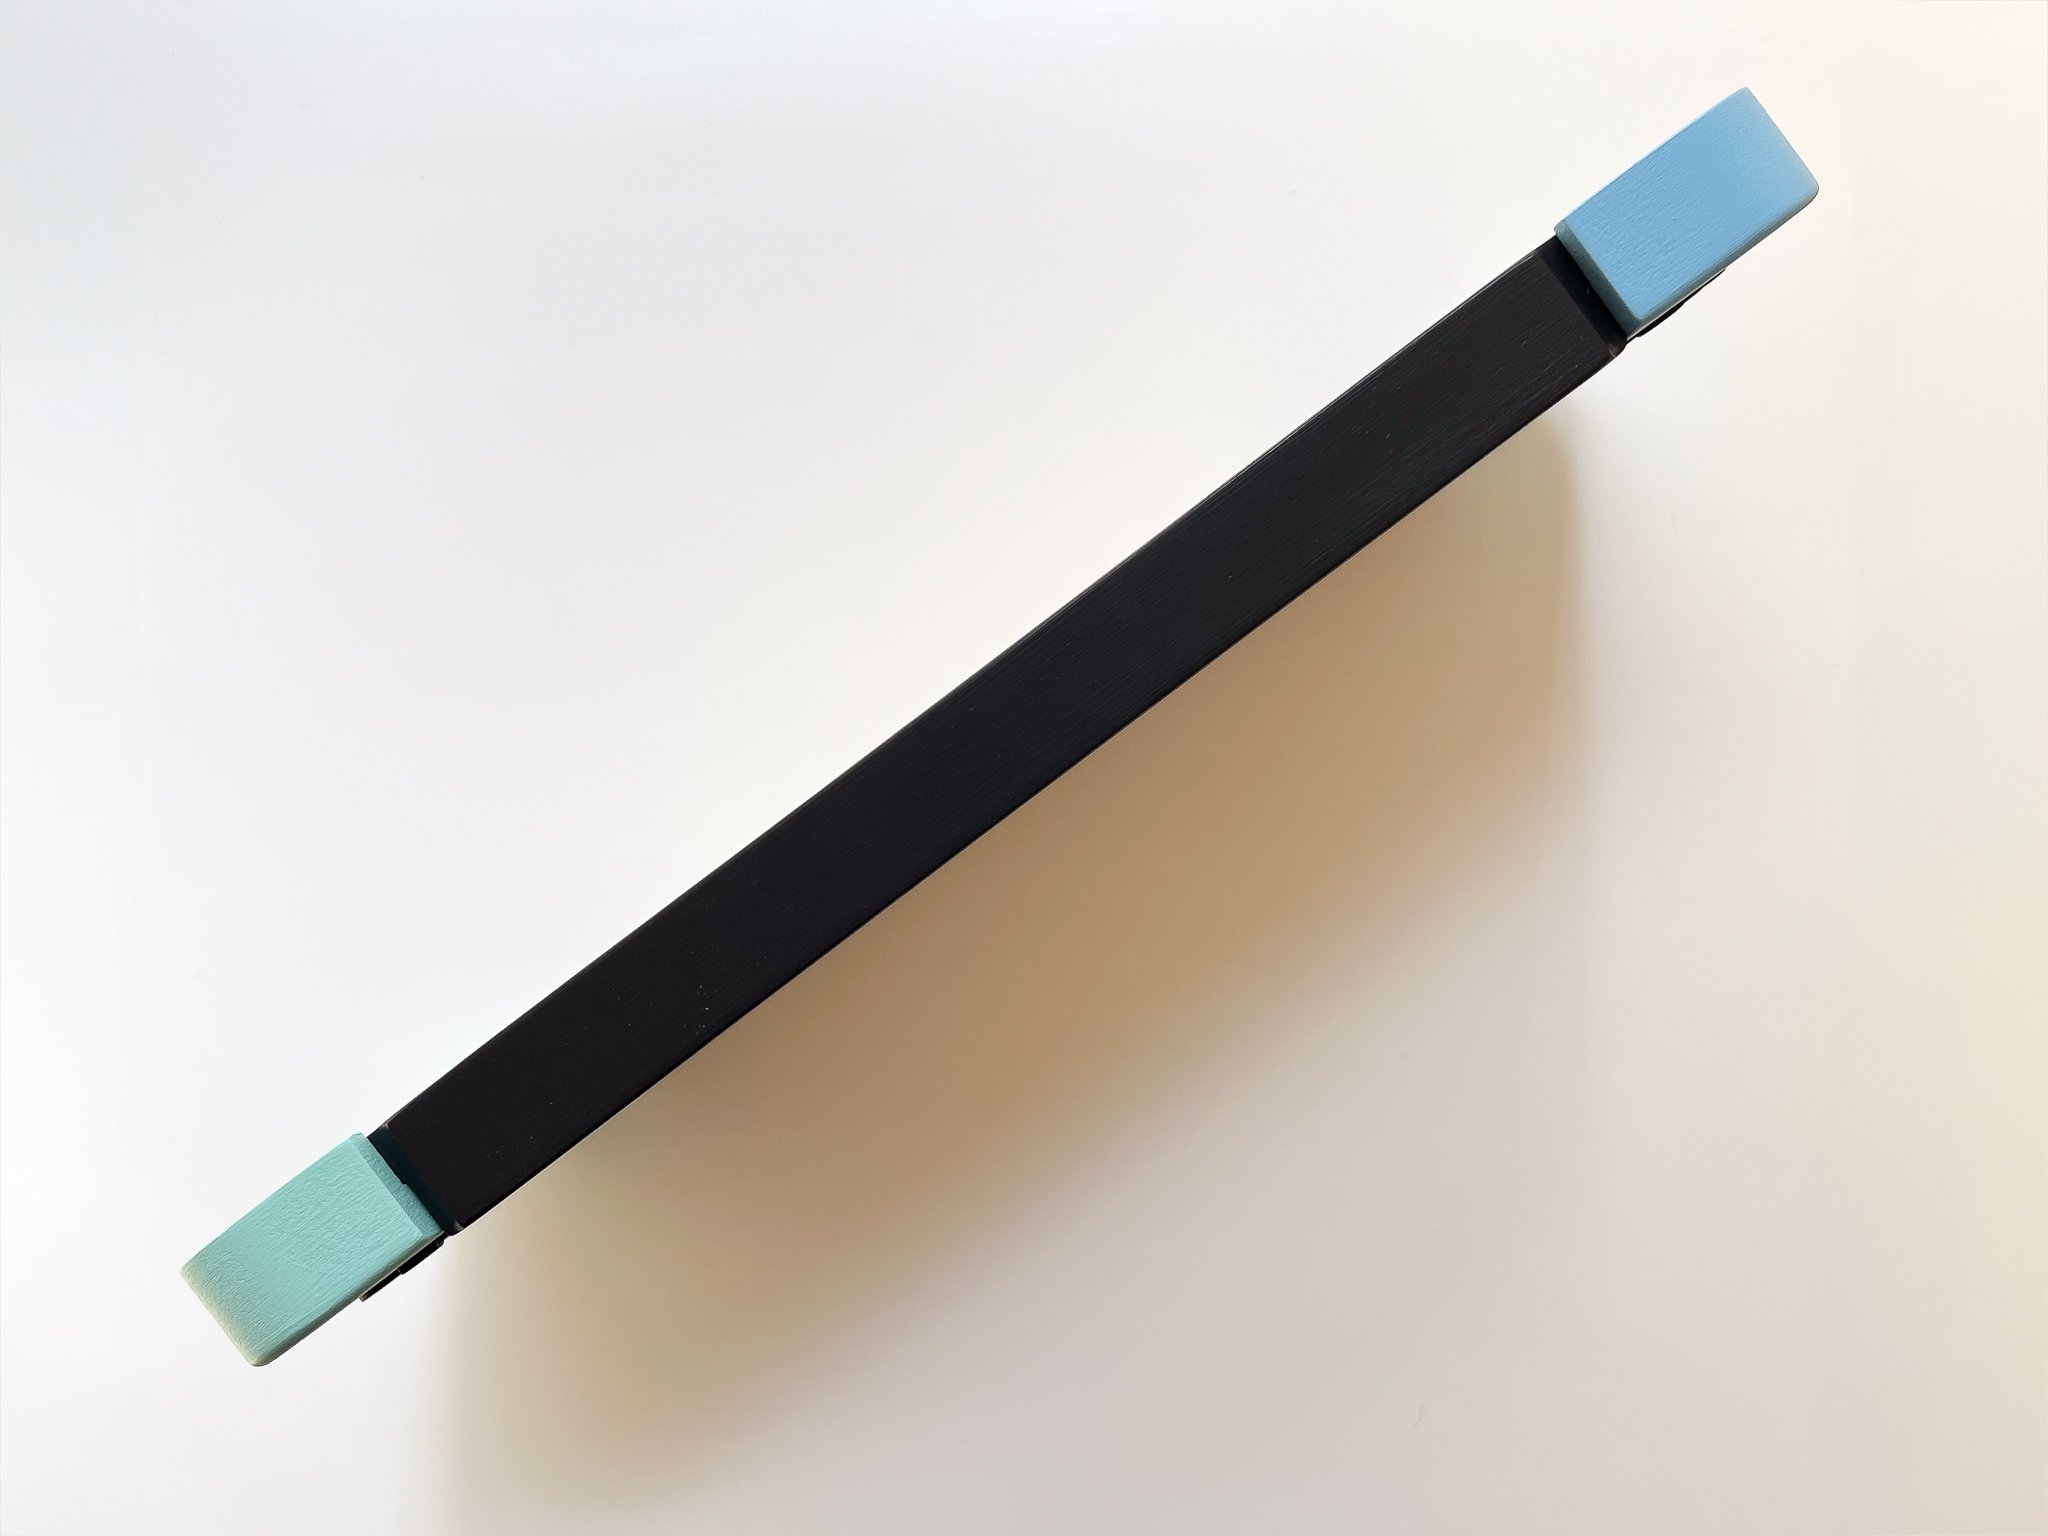

It’s a bit hard to tell from photos, but another thing that stood out to me about this frame was the sheer size of it! It measures at 5x9 inches for the frame opening (where your embroidery shows through), and a whopping 6.5x15.25 inches overall. So any projects you plan to create for this frame would need to be large enough to fill the opening.. BUT this allows for you to get an amazing amount of detail in your work, which I think just adds to the wow-factor this realistic frame clearly encompasses.
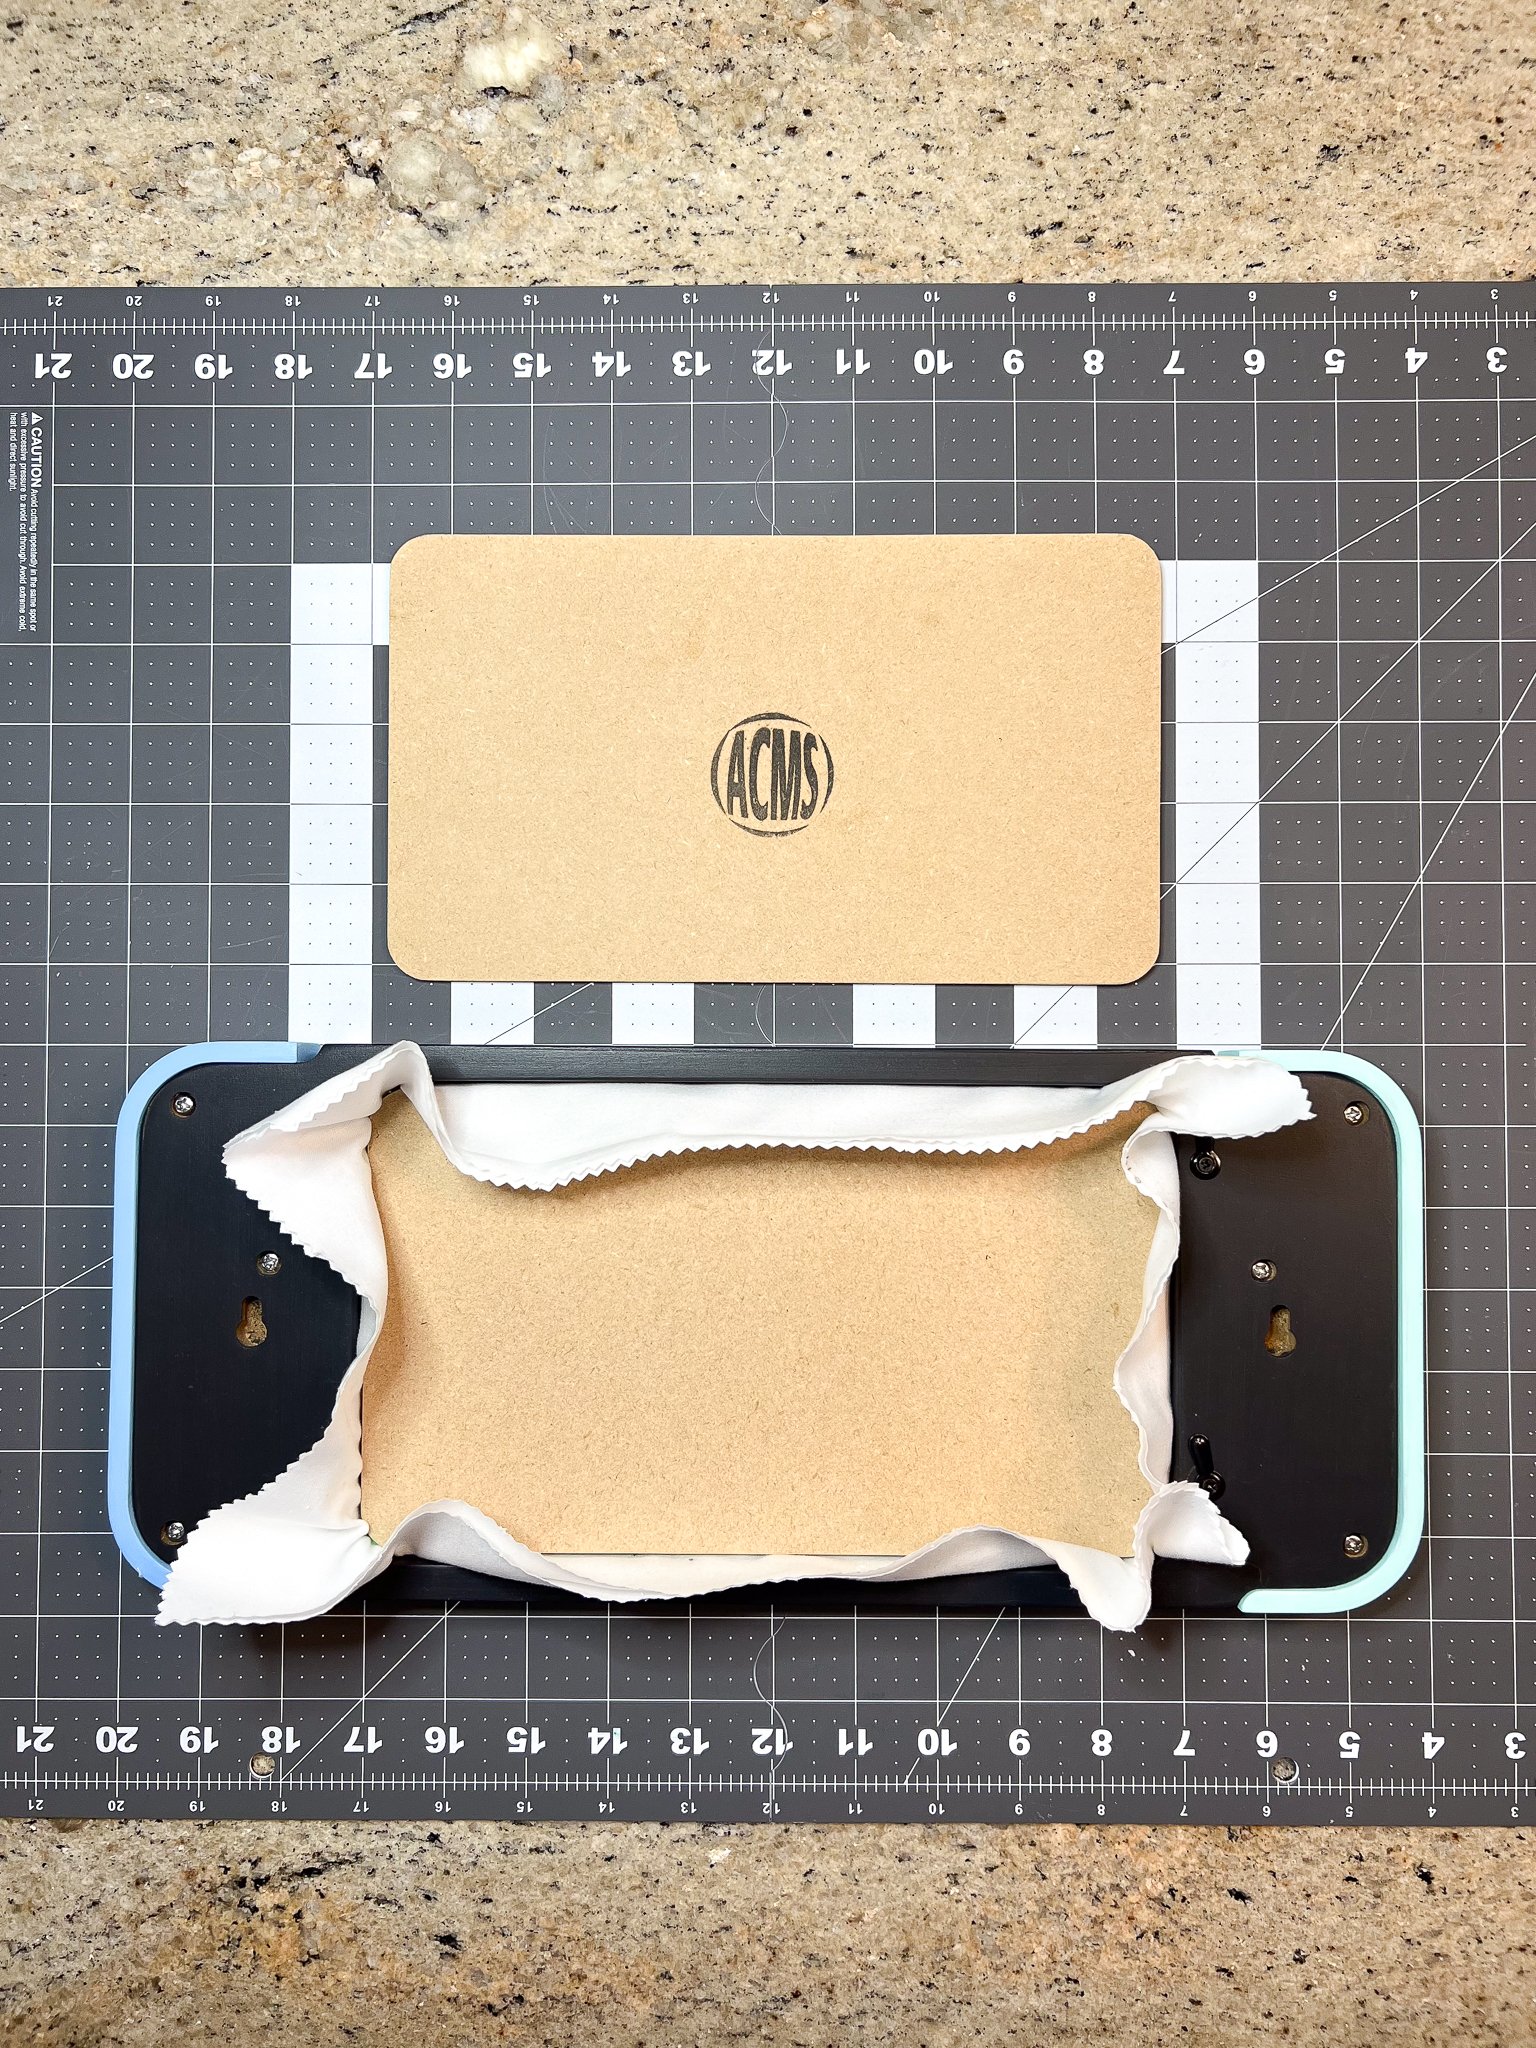
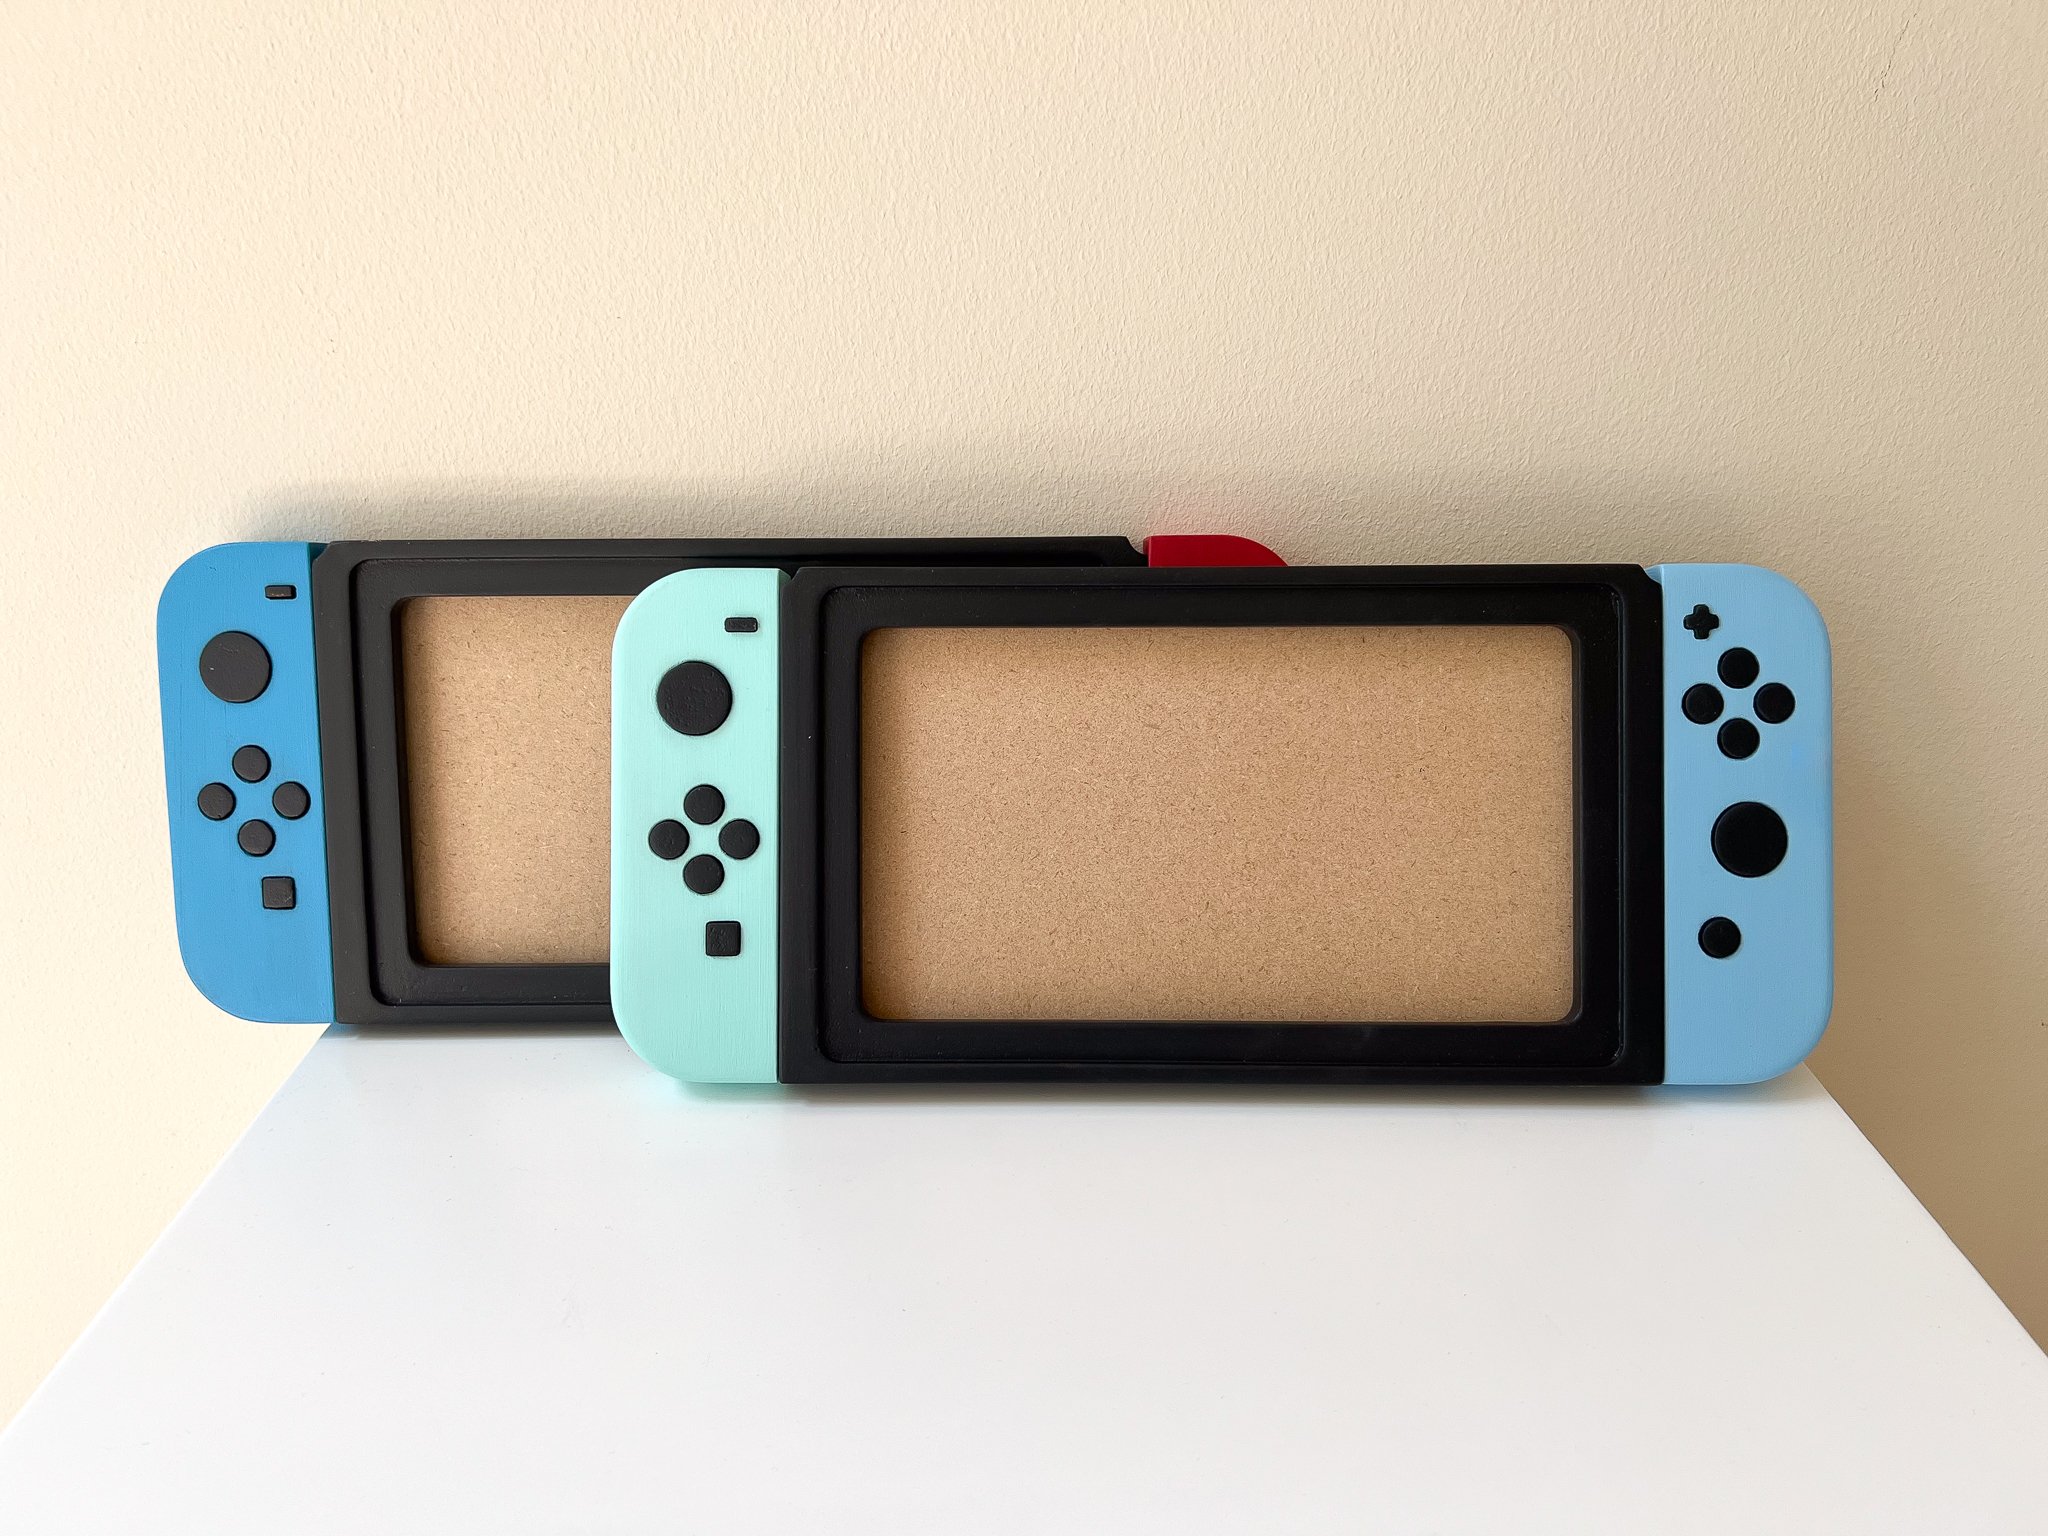
The back of the frame is simple, yet very functional. There are four screws with turn buttons that hold the mounting board and backer board in place, which allows for easy adjustments when securing your work to the frame. The frame is one inch thick and stands well with a surprising level of stability on any flat surface, but there are two holes on the back of the frame should you wish to hang it on your wall instead. I personally love having the option of both, as sometimes there just isn’t enough wall space to go around!


Securing Your Project
If you’ve never secured your embroidery in a needlework frame before it can be quite intimidating at first, but I promise it’s way easier than it looks!
I started by trimming the fabric to a more manageable level, as you’ll need to ensure there’s not too much fabric around your design that you can’t close the turn buttons, while also still allowing some level of padding to give everything a nice snug fit. Once my fabric was trimmed, I wrapped the whole piece around the thick mounting board and played around with a few different adjustments until I was happy with what parts of the image showed through the front of the frame.
It’s much easier to make placement adjustments before you begin sewing, so only once I was certain that my design had the correct, desired placement did I turn over the frame and begin securing the fabric around the mounting board.
To secure my fabric around the mounting board I used thick DMC pearl cotton thread (to avoid potential thread breakage) and a curved quilting needle. You can absolutely do this with a regular sewing or embroidery needle, but you’ll have a much easier time if you invest in a curved needle, as it really allows you to pull the needle through against the firm mounting board more effortlessly.
I started by sewing a few lines to connect the middle of the fabric both horizontally and vertically (see first photo in this carousel for reference). You want to be careful not to pull too tightly with these first securing stitches, as it could shift your fabric and move the placement of your design.
After my preliminary stitches were done, I turned the frame over to ensure that the placement of my design had not changed. Then I finished sewing all sides of the fabric together, pulling more firmly this time to help keep everything permanently in place. As for my corners, I simply folded them down and did a few running stitches to help them lie more flat.
Once the piece was fully secured around the mounting board, all I had to do was place the backer board on top, twist the turn buttons, and tighten a few of the screws for extra security.
Customization Options
As previously mentioned, this is a custom frame.. So of course there are customization options available! Not only do the endcaps come in all variety of colors as the actual game, but they can be painted to match any DMC thread color as well. This really creates an endless possibility of framing options to chose from to help make it a perfect match for your project!
The Final Result
Overall this frame exceeded all my expectations - The design is realistic and extremely high quality, the process to secure my embroidery was simple, and the end result is truly quite breathtaking.
I highly recommend ACMS custom Switch frames for anyone who’s looking to take their embroidery to the next level! ✨🎮✨
“Don’t Animal Cross Me (Again)”
Original handmade embroidery by ZEEBAM
Where to Purchase
The Switch frame featured in this review is available now and part of a new line of custom frames being developed by ACMS Custom Frame and Fabrication. Their Needlework Shop has been servicing the industry for over eight years, leading the pack by creating the original Embroidery Hoop Frame and continuing to provide Needlework frames of all shapes, sizes, and finishes for their clients. Check out their shop below to see what amazing custom frame and fabrication solutions ACMS has to offer for your next project!
ACMS Main Hub: https://acms-shops.com
☆ ☆ ☆
A Note from the Author:
I want to give a big thank you to Christian, owner and operator of Advanced Craft Making Solutions, for gifting me this custom Switch frame and helping bring my vision to life. His creativity and skill knows no bounds, and I cannot wait to purchase my next custom frame from the shop!
To my dear readers… If you found this review useful and you want to help support the blog, there’s a “Buy Me A Coffee” option below where you can donate, or you can find prints and stickers in my SHOP if you want to bring a piece of Tom Nook home for yourself. Of course, any and all shares to social media are another a great way to help provide support to both Christian and I, and are immensely appreciated.
To stay up to date with the latest blog posts you can Subscribe Here, and if you have questions or would like to recommend a future blog topic, please leave a comment below.
Was this review helpful to you? Did it inspire you to start a Switch frame worthy project? ..I’d love to know!
●・○・●・○・●
